Monday, February 29, 2016

Log Grading

In this entry, I'm going to show you guys how to fix the image/footage using Log grading.


The image above will be the image that we're going to try to edit.


     If you look closely to the image's scopes, everything is below the average line. The image is dark but not crushed. What we're going to do is to try to neutralize the image.


     The image above is the edited version. It only took me less than 5 minutes to achieved this look. So here's what I did. First, I moved the offset to the right to increase all the colors. I increased it until the images' colors reached the middle portion of the waveform. Then I decreased the shadows a little bit, I also moved the midtones to the right  to give the image some details.
     I apply some contrast to give depth to the image, especially in the background. So by default, contrast is centered in the middle portion of the tonal range—right around 50% on waveform scope when using the contrast control. The Pivot control allows you to change the center point of a contrast adjustment when using the contrast control. I  also increased the saturation to make it lively. As you can see the curves is bent a little bit to the left. I did that to increase the amount of light in the image, not in an exaggerated way, just enough to make it more dramatic.
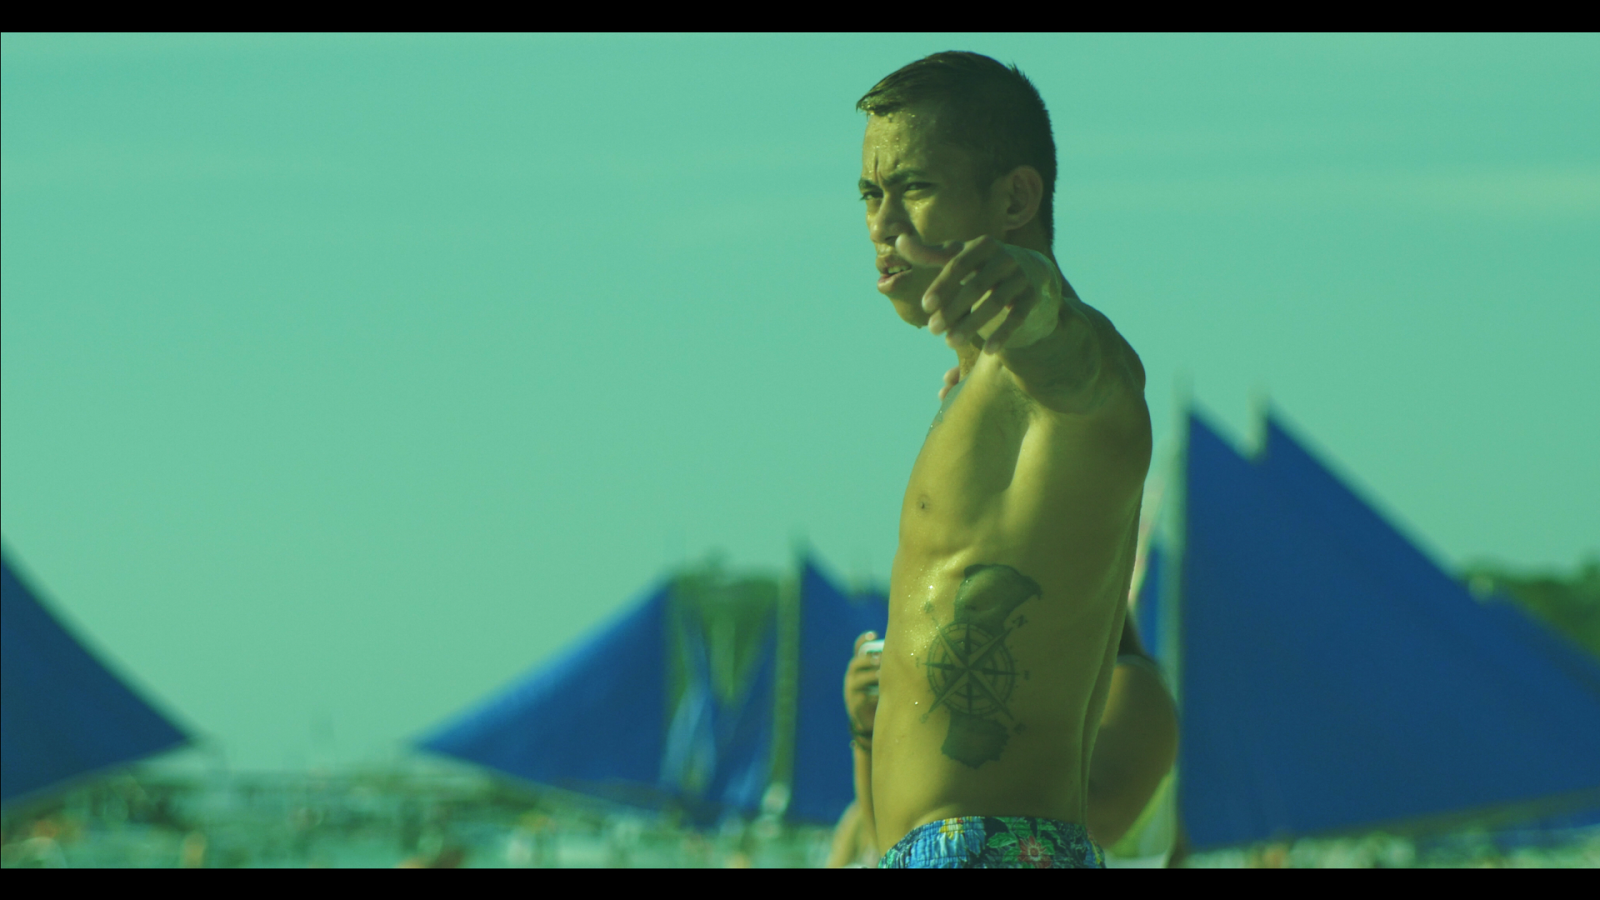

Here's the result.
                               BEFORE                                                                       AFTER

     So here is the before and after. Before the image looks dark and dull, even though there is a direct light shining to his face, the over all image seems less contrast. After, we give life to the image and increased the contrast and also corrected the amount of light that is present and also fixed the colors to make it more natural. That's how we use Log grading in DaVinci Resolve.

Sunday, February 28, 2016

Test: Eye of Minds


     In this entry, we're given a test were we try to edit the images without using the software, just our eyes and mind. The first result in every images are the looks when you applied the ideas and information from the test to the software. The second results are the images I edited directly to the software.

Image1


Result:

Correction:

Result:

Image2


Result:


Correction:

Result:

Image3

Result:


Correction:

Result:

Image4


Result:


Correction


Result:

Image5


Result:

Correction:


Result:

Image 6


Result:


Correction:


Result:

Image 7

Result:


Correction:


Result:


Image 8


Result:


Correction:


Result:

Image 9

Result:


Correction:


Result:


Image 10


Result:

Correction:


Result:


Image 11

Result:

Correction:

Result:


Image 12


Result:


Correction:


Result:


     As you can see, the test limits are editing capability since the only parts of the DaVinci we can use are the primaries wheels and the curves where as when I edit it using the software, I can use the other parts like saturation, contrast and etc. These parts can also help us adjusting the images to make it look perfect. Lessening the use of other important parts make it less appealing, though there are some images that you can edit with only Primaries wheels and Curves; but not all of it are good with the idea.
     In this test, I learned the importance of knowing the software and/ colors without actually using the software. Sounds confusing?, well for colorist, it's very important to visualize the colors and everything before actually touching the image itself. Since, I'm just new to this kind of thing, I'm very happy to learn things and enhance the knowledge that I already have. And also,  the color wheels are easy to use, we just have to learn when is much and when is less. Sometimes we used the tools too much but we only need a little and vice-versa. When adjusting, you don't have to drag so much to the right or to the left because a little bit of it sometimes is already enough.
     I didn't say the images I edited or corrected is already perfect, there is still room for improvements. I can say that at least I did a good job fixing it, though there are some images that are difficult to recreate since we are using different images with different time and settings.