Here are some footages that are in RAW files.
Sample 1:

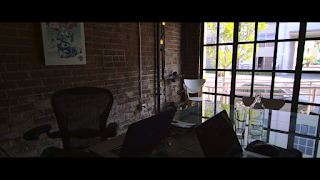
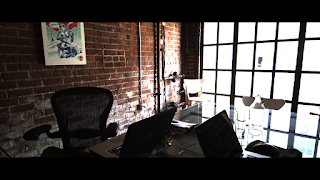
The original footage in here is on the right, as you can see the lights coming from outside are too bright. Because of that, we can't see the details. In this example, I did some simple steps to get the details that I want. Using the Primaries Wheel, I lower the amount of gain until the objects from outside starts to appear then I lower the lift a bit to give depth to the darker areas. I increase the amount of gamma to retain the amount of details present within the room. I also increased both the highlights and saturation to give life since it was lessen when you lower the gain and then increase the curves a bit to lighten it up a bit and to make it look natural.
Sample 2:


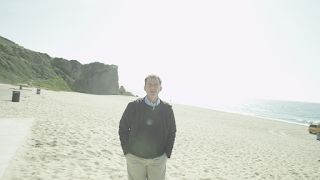
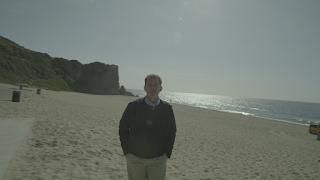
In this example, the original photo (left) is too bright because the sun shine directly to the back. There are 2 ways we can fix that because not everyone is working with RAW files.
One way is through this panel. Since this is a RAW footage we can fix the brightness by going to Decode Using and change Clip to Project then to Blend Type change to Magic Motion. It will automatically blend the highlights and the exposure. The other way is to manually fix it by lowering the gamma and gain. Decreasing the highlights a bit and increasing the contrast a bit to neutralize it. I edited this clip manually and you can see the result on the right side.

No comments:
Post a Comment