When you color the footage, you're not just moving the panels to adjust it. You also need to understand the purpose of what you're doing in order for you to have an effective result.
Images that are edited is on the right, original footages scenes is on the left.
Sample 1:
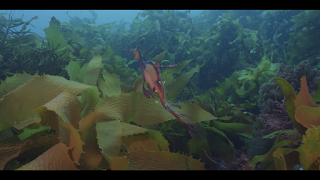
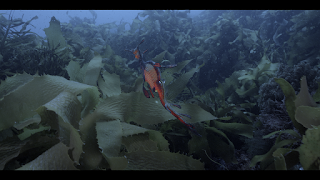
In this example, you can't seem to identify the fish because of the colors of the seaweed that surrounds it. We need to make the fish the focus of the clip.
First, we need to balance the image, after balancing the image create a new node (alt + s) then create a layer node (alt + L) use node number 4 and key the fish to isolate its color from the color of the water. Increase its saturation to make its colors eye catching. De-saturate the colors a little bit in node 2, and drag the gain a little bit to blue. The adjustments you did on nodes 2 and 4 will mixed together because you're using a Layer node and you can see the result on node 5 which is on the right photo above.
Sample 2:
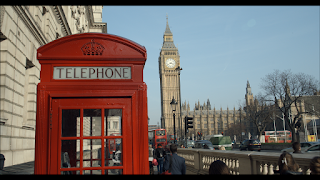
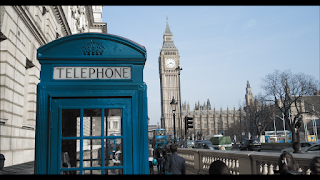
In this example, we're just going to change the color of the telephone booth.
To do that, you only need 3 nodes. On the first node, balance the image first then on the second node use the qualifier tool and select the color of the telephone booth. Go to view, select Highlight then highlight to show the colors you have selected or (shift + h). The three icons in the big circle are the same as the ones you see in the view tab. The first one is the highlight, the second is for Black and white to identify the amount of noise and the third one is the difference.
When you finally picked the color, you can now go to curves and click the 2nd dot or the Hue vs. Hue, just drag the line to change the color to whatever you want, you can also use the primaries wheels or the midtones to change the colors you picked. The last node will be the outcome of the things you have edited on the previous nodes.
Sample 3:
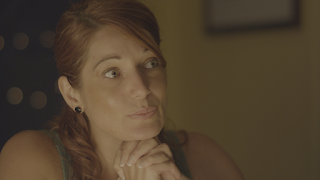
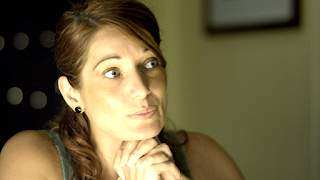
In this third example, it's somewhat similar to sample 2 but I used Parallel node instead of Layer node. So what I did is first balance the image (as always) then increased the Luma on the second node. I used qualifier on her skin tone so that the luma won't make it so bright and I also dragged the colors to yellow/orange to warm it up a bit.


No comments:
Post a Comment