Friday, April 29, 2016

Looks


     For this entry, I'm tried to re-create the image above using the images below. As you can see, it looks darker and contrasty with a little red tint to it. Looks dark and warm at the same time.


BEFORE - AFTER

     I think for this project, I find it easy to do because you just have to do some minor adjustments to achieve the same look. I focused on getting the right amount of contrast and right tint to make it similar.

Thursday, April 28, 2016

Training


Eye Training 


     For this training, we are tasked to copy the looks that was created by Charles Etienne Pascal. The music video has a dreamy/surreal look. As you can see from the photos below, I managed to recreate the looks that he created. Though it's not 100% similar to each other, but at least, I have the same feeling when I looked at it. I guess, one of the things that challenged me in recreating his look is the fog from the scene and the lighting. There are minor differences on these images like for example the dark parts and the shadows, and also the vignettes. 


Speed Training


     In this part, I tried to copy this look to some of our stock footages (without the use of reference). Well, I can say that it's hard if you got nothing to compare. You can watch the video on how I do it below:


Wednesday, April 27, 2016

Look Up tables


LOOK UP TABLES


     Here are some others LUTs I created for this day. Making your own luts is challenging because you have to squeeze your brain so hard so you could have some unique and creative ideas to apply. As for now, these are the things I have in mind that I put in these scenes.


     So hopefully in the next days, I'll be able to create something that is more eye catching. Since I'm just starting to work with luts, I guess it's acceptable. Anyway, I'm still going to use these in my future projects.

Tuesday, April 26, 2016

Look Up Tables


Here are some of the LUTs I created using DaVinci Resolve and Adobe Photoshop CC

LUTS - RAW files


Monday, April 25, 2016

Grading

Eye Training

     The images below are the scenes that I used to test my eyes.

RAW - GRADED BY ME - GRADED BY THE COLORIST 


     I experienced a lot of difficulties in recreating this looks. Looking at it in a distance makes them look the same, but if you look closely, there are a few differences between the graded clips by the colorist and the one I did. I think, the reason why it's hard to recreate this is because we have different work flow in achieving looks.

Speed Training

     For this training, we are tasked to do a day for night grade using clips with different time setting and location. You can watch how I did it below:


Friday, April 22, 2016

Grading with LUTs


     The images below are examples of using look up tables when grading. Luts are like pre-ready grade that are listed and are already plugged in to your software. The challenging part when grading with luts is choosing the right luts for a certain scene.

     For the past few days, I managed to browse the luts and had a glimpse on them. I saw some that I like and some that I might never use in the future. I saved some of my favorite luts as powergrades, so It won't take me so much time looking. When grading, I applied the luts first then adjust them on different node/s. Then, after I achieved the desired look that I want, I'm going to copy it to the others.

Winter

     Since Winter is feels clean and relaxing (sometimes); After I applied a lut, I fixed the brightness and contrast to balanced it. The blue tones comes with the lut.
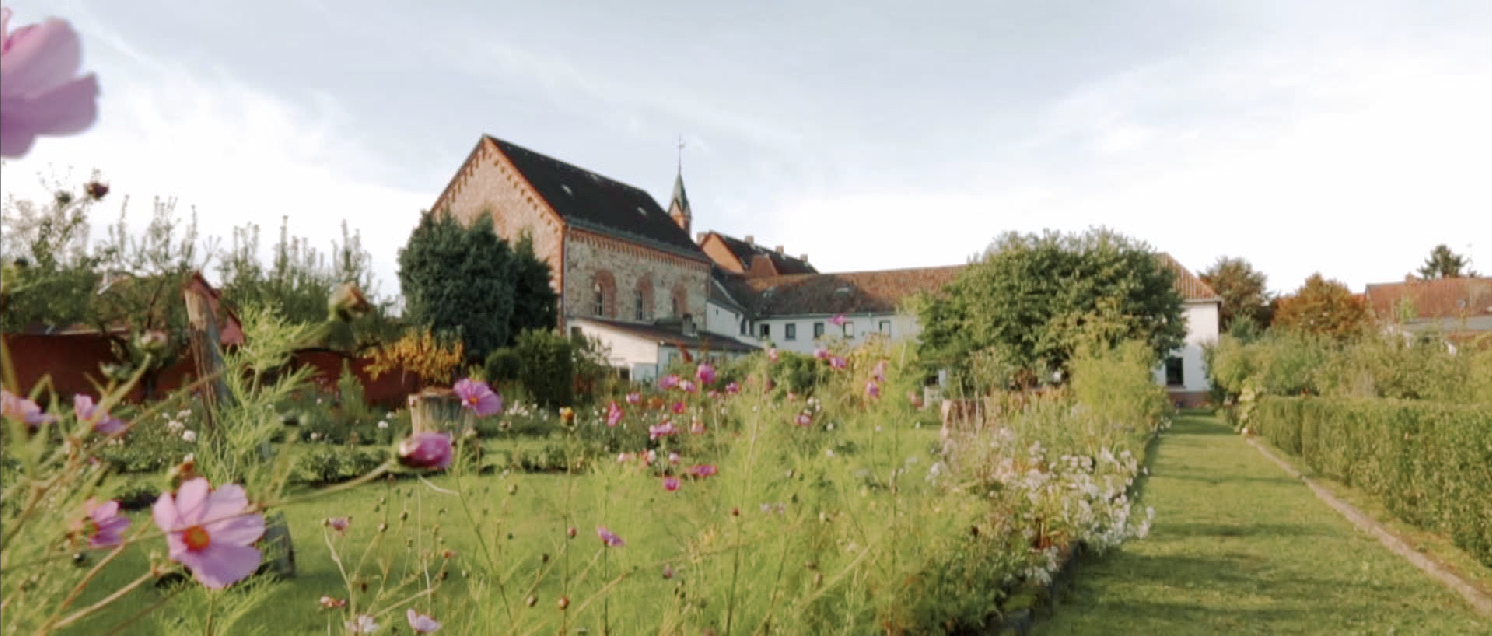


Spring

     In here, after I applied the lut, I added some saturation and color boost to make it more colorful and alive. I also added some brightness to it using curves.


Summer

     Summer is more of yellowish tint. The lut that I applied is too warm, so what I did is I decreased it by adding blue to gamma and gain then I used the Hue vs Sat to lessen the colors that are stong.


Fall

     In this season, the original footage looks dead. After applying the lut, I focused on adjusting the colors. Fall is more of orange/yellow and a little green. I increased both saturation and color boost then I used Hue vs Hue to change the colors of the grass to yellow/orange. Next I fixed the contrast, brightness and midtones.


Thursday, April 21, 2016

LUTs

Working with LUTS

     LUTs or Look up tables are very essential to colorist, because it can help us create more styles, gives us a lot of creative ideas and also make our job faster. For your information, LUT is not a filter that you can use anytime you want. LUTs are used to generate styles on the project that you're working on. Every time you apply a lut make sure that you adjust it, because not all of them looks good when applied, some of them needs some minor adjustments for them to work.

Here are some examples:

BEFORE - AFTER


     For the examples above, I applied three different luts. What I did is I created at least three to five nodes for each clip. Then I applied the LUT I chose on the third node. I did the minor adjustments on the first two nodes so that it won't affect the original style. Some of the minor adjustments I did are fixing the contrast, luma and the midtones. If you think the lut/s you've chosen looks good when applied and you feel satisfied, then you don't have to make certain adjustments. But if it's the other way around in most cases, you have to do adjustments. Let's just hope they are not hard to deal with.

You can watch the process on how I work with LUTs below :)


I haven't really worked with LUTs before, so this would be the first time. I believe it's not perfect but it's worth a shot.